Enterprise - Manual Installation and Configuration
The intention here is not to gather all possible installation and configuration steps for enterprise environments but to use a brief example to show what the difference is for the end user when setting everything manually compared to solutions that automate the tasks.
Contents |
[edit] Installation
[edit] Adding a repository
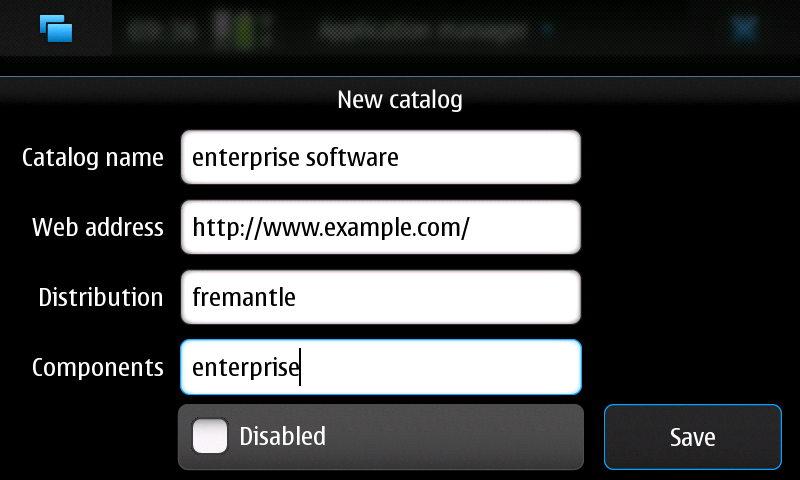
If the software that you need for the device is not provided directly in Nokia software catalogue or in Maemo Extras you need to add the repository that provides the software for your environment.
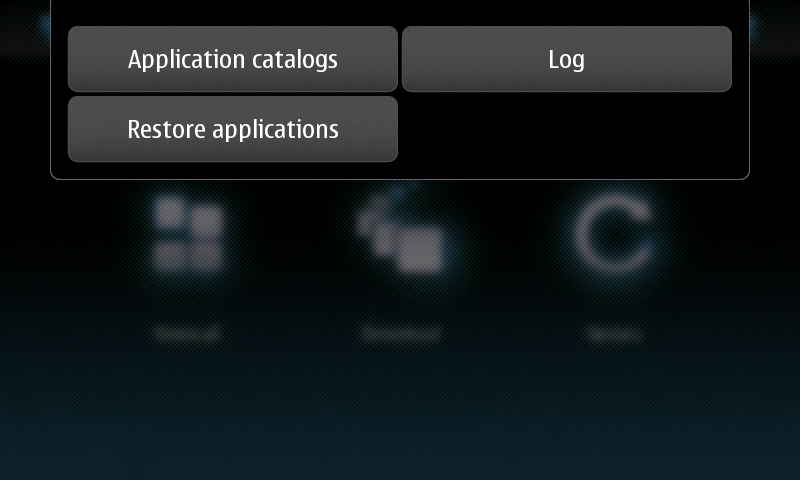
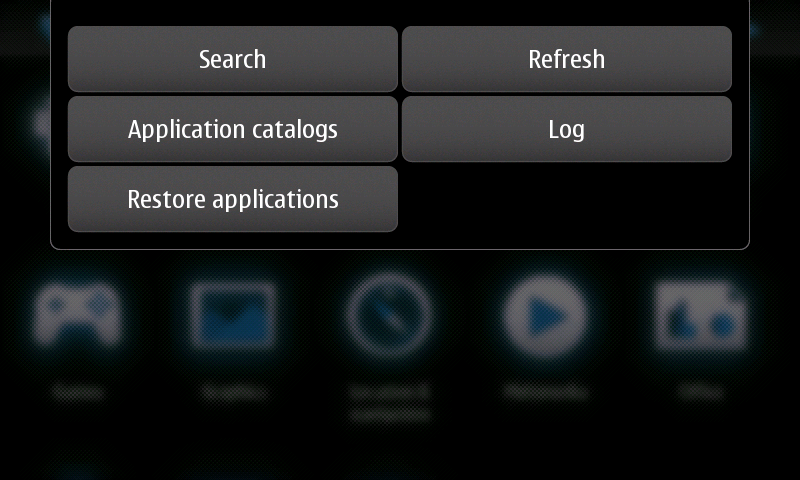
To add the repository open the application manager and tap the menu bar and select "Application catalogs".
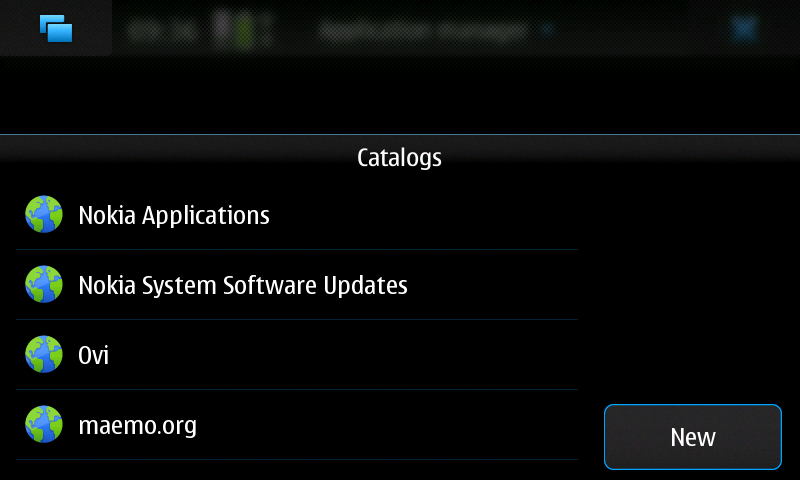
Select new to create a new repository entry.
[edit] Installing software
Depending on your environment needs install the necessary software for your environment, example here for installing pidgin.
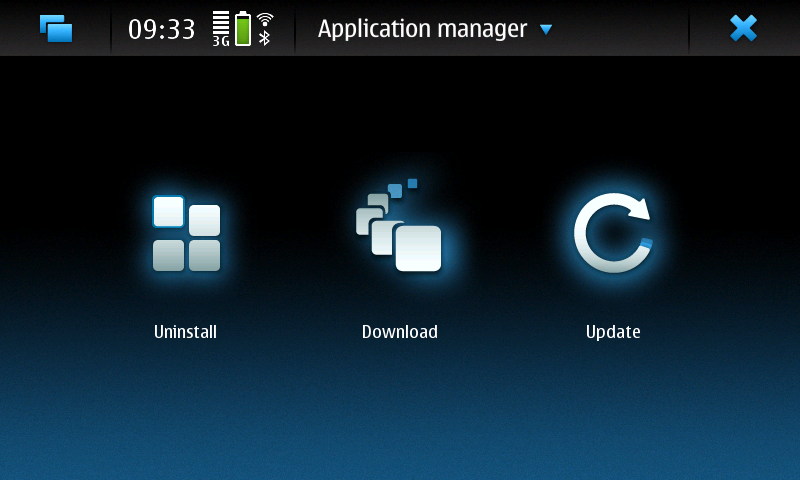
Open the application manager and tap on Download.
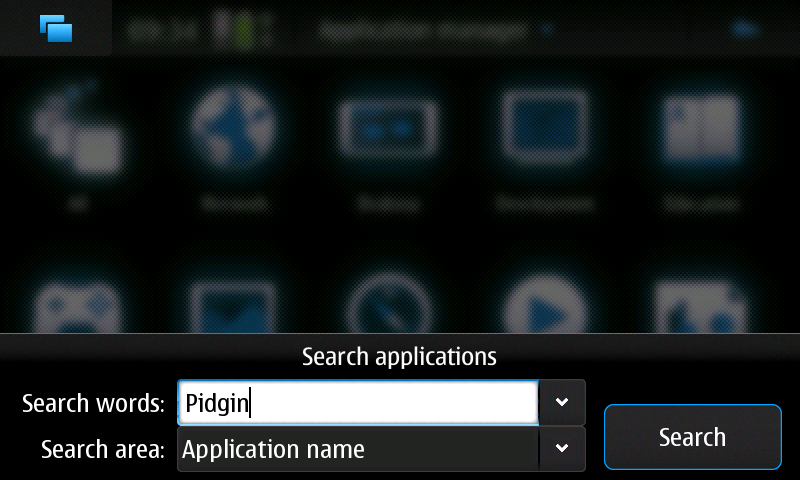
Tap on the menu and select "Search".
Type in the name of application to install.
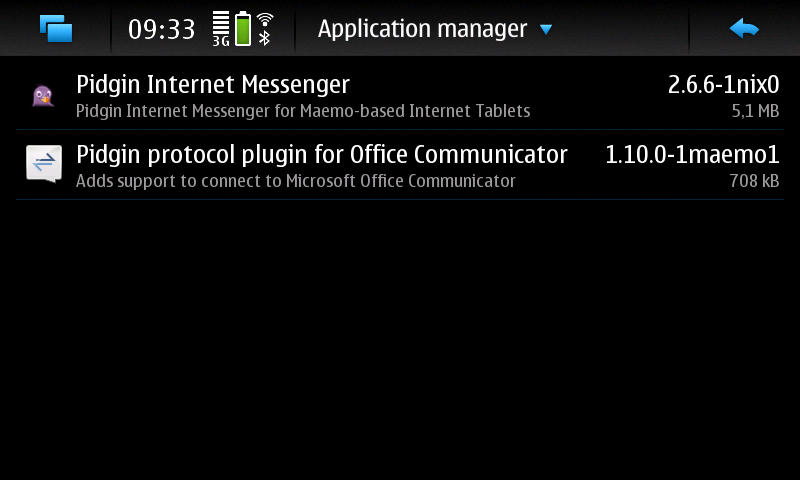
Select the application from installation results, here for example pidgin listed along with OCS plugin.
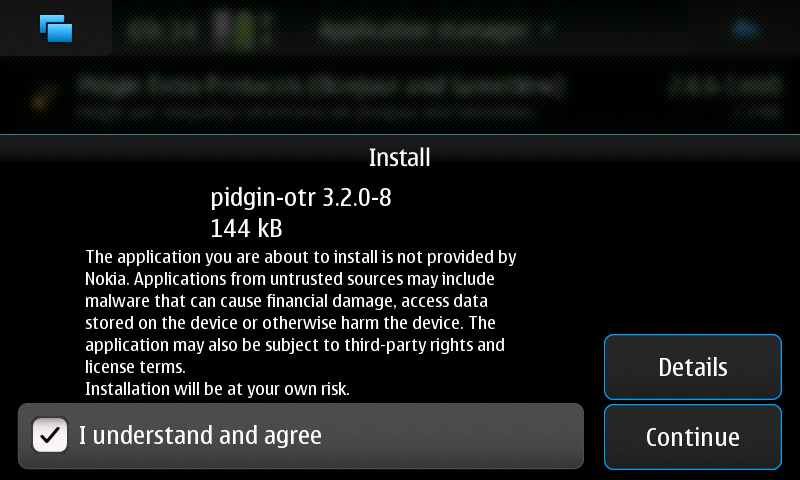
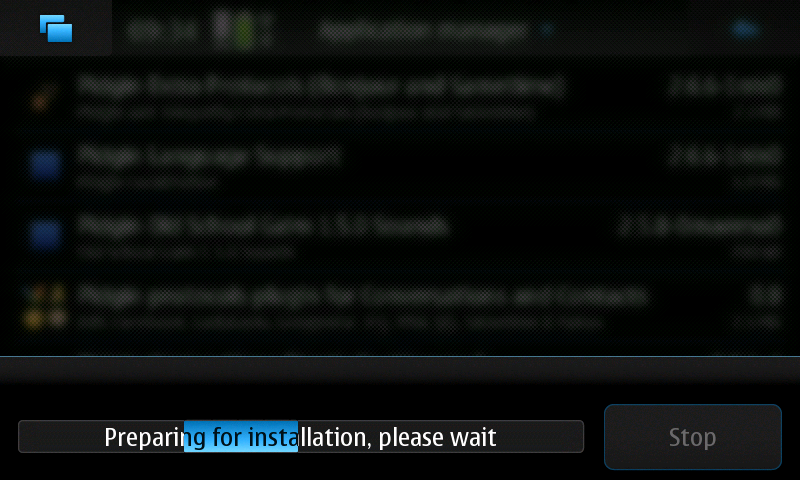
Here is the publicly available OTR plugin being installed that needs the installation approved.
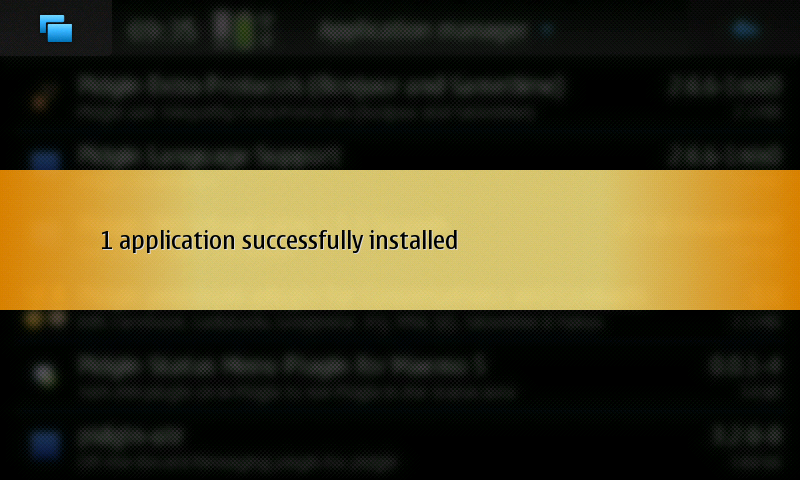
Software is being installed.
Finished.
And then repeat for all the necessary software for your corporate environment.
[edit] Configuration
[edit] VPN
[edit] Configuring VPN on device
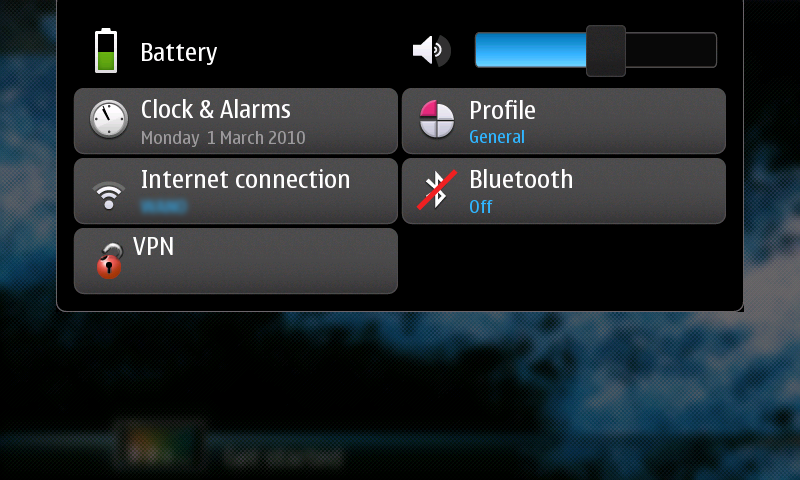
VPN can be accessed from the Status menu of the device.
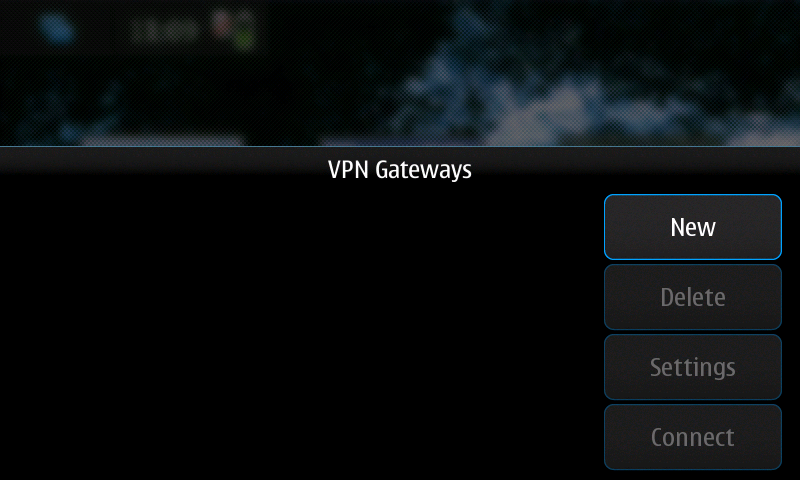
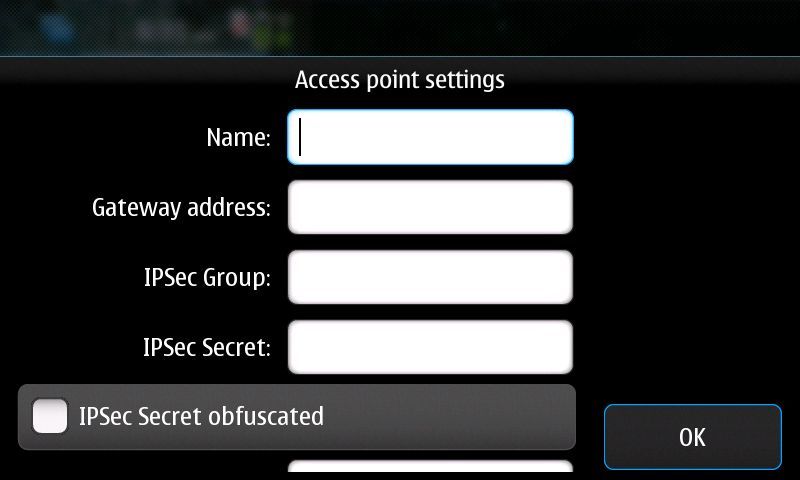
To configure the VPN, tap on the ‘New’ button in the VPN Gateways dialog.
Configure the details of VPN Gateway details. This information should be obtained from the Gateway administrator.
After saving the Gateway details it shall appear in the VPN Gateways dialog.
[edit] Mail for Exchange
[edit] Configuring Exchange server
MfE client on N900 supports the following Microsoft Exchange versions:
- Exchange ActiveSync for Exchange Server 2003 Service Pack 2
- Exchange ActiveSync for Exchange Server 2007
- Exchange Server 2010 connectivity has been reported to work as well but this is unconfirmed.
The Autodiscover service is supported by N900 MfE client. It uses the entered email address, username, password and domain to detect the Exchange server information.
Searching in Exchange global address list is also supported by N900 MfE client, so users are able to search for contacts in the corporate address book stored on the Exchange server.
MfE client on N900 doesn’t support server policies, so the Exchange server shall be configured in a way that doesn’t require the client to use any provisioned policy. Device security settings on server side shall be turned off.
Exchange server needs to be configured for enable unsupported devices.
[edit] Configuring Mail for Exchange account on device
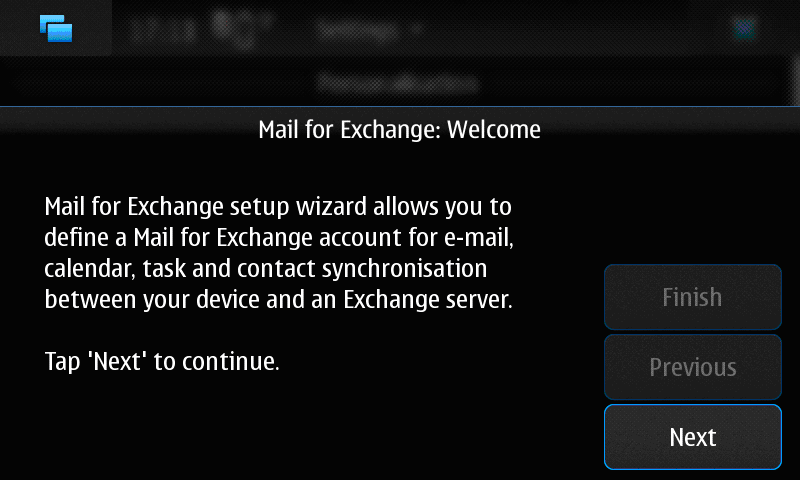
It is possible to configure only one Mail for Exchange account on device. It can be done from Settings > Mail for Exchange. If the account has not yet configured, it launches the configuration wizard
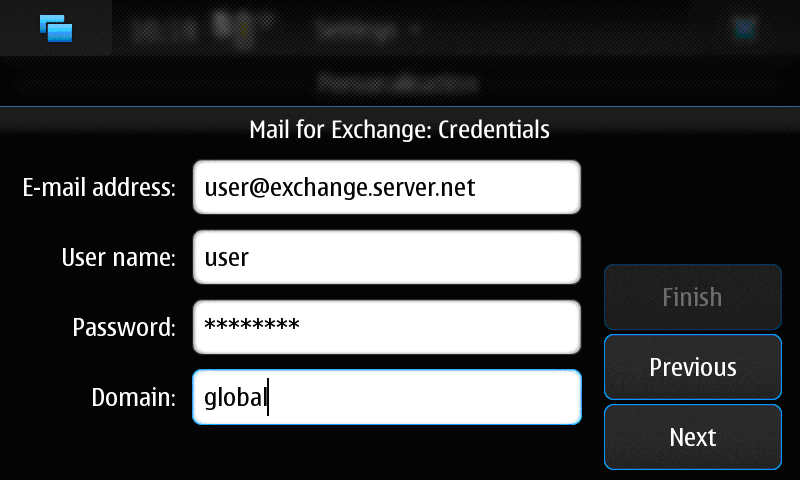
Just press “Next” on the first page. On the Credential page, the following information should be filled in:
- E-mail address – the user’s complete email address
- User name – the user’s login for the account on Exchange server
- Password – the password to access the user’s account on Exchange server
- Domain – the domain name (this field may be left empty if not used for accessing the user’s account)
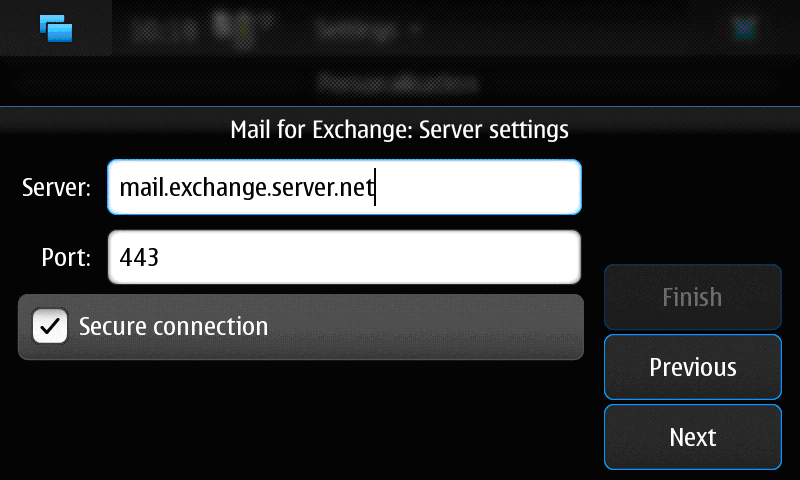
The device supports the Autodiscover service which uses the provided information from Credentials page to detect the internet address of Exchange server. It starts automatically when you tap on “Next”. If the service is accessible and the provided information is enough, the Exchange server’s internet address will be pre-filled on the next “Server settings” page. Otherwise, it shall be entered.
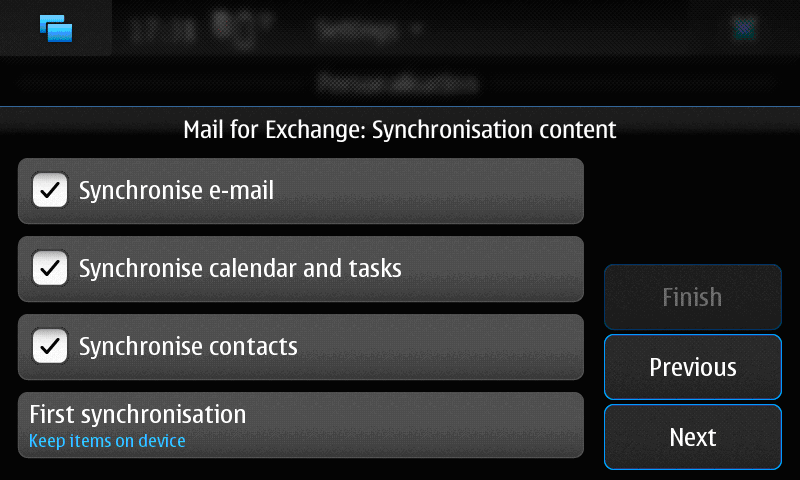
Then, after tapping on “Next”, the wizard will try to access the Exchange server and verify the credentials entered on the first page. If it detects that something is wrong, it will navigate to the corresponding wizard page. If it is correct, on the next page user is prompted to select the synchronization content. Note that calendar events and tasks are combined together.
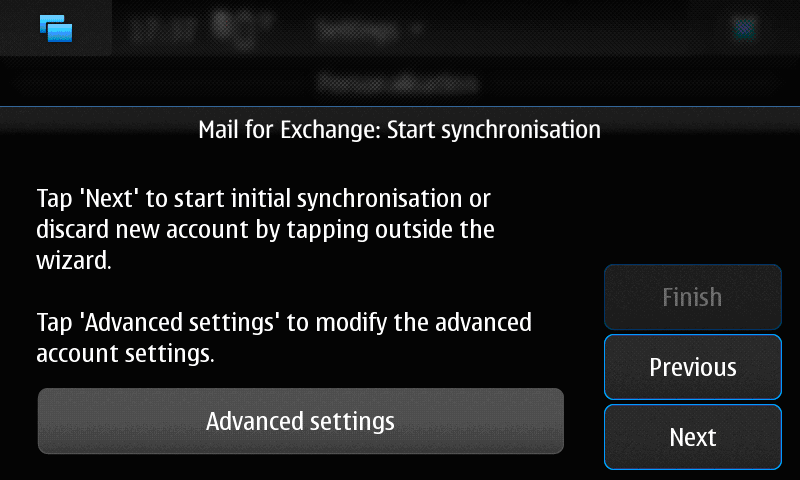
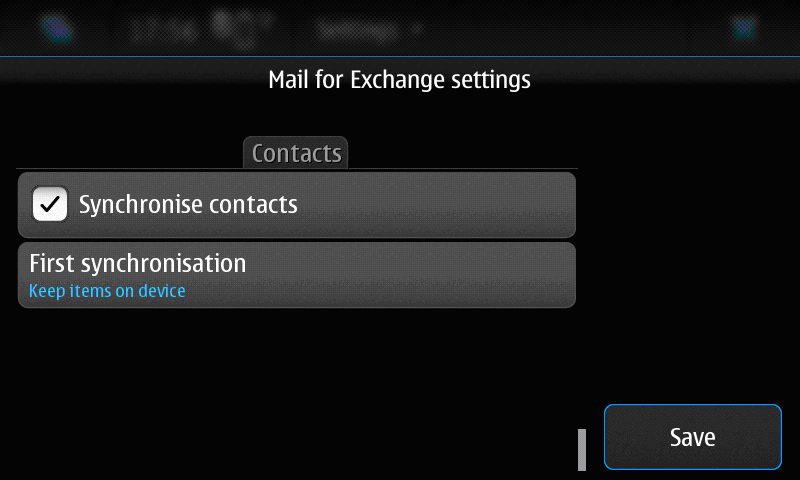
The option “First synchronization” is related to contacts only and if selected as “Keep items on device” means that all contacts currently existing on device will be synchronized to the Exchange server. If “Delete items on device” is selected, all the contacts currently existing on device will be removed prior to synchronization and later be replaced by the ones from user’s account on the Exchange server. The next page is the last chance to modify the synchronization settings. All these settings are set to optimal values by default, but modifiable if necessary. Note that it is not recommended to synchronize the same content using different synchronization methods (PC Suite with Mail for Exchange, for example).
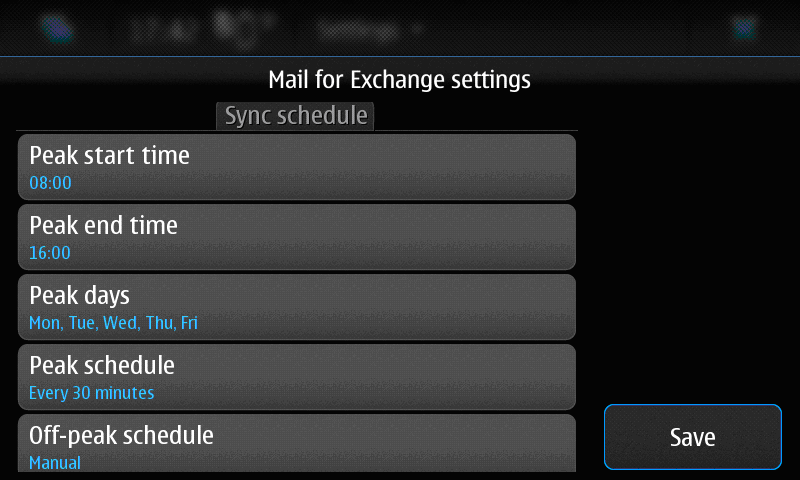
Tapping on “Advanced settings” brings up the full list of settings. There are 2 synchronization schedules: peak and off-peak.
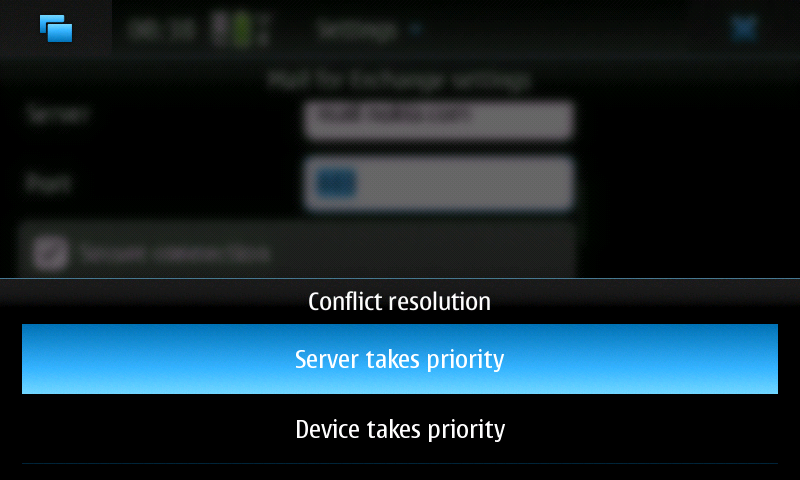
It is possible to specify the conflict resolution policy, i.e. which side takes priority if a conflict modification is done on both sides: on device and on server at the same time.
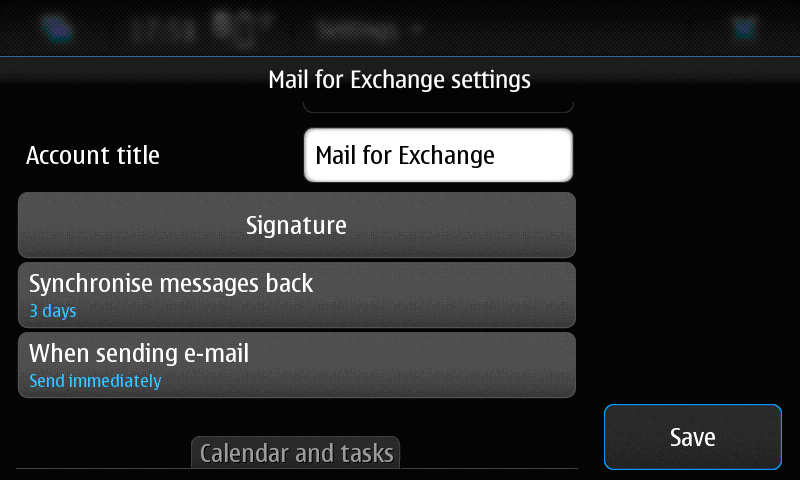
Also, the email auto-signature text, email age filter and email sending policy can be changed.
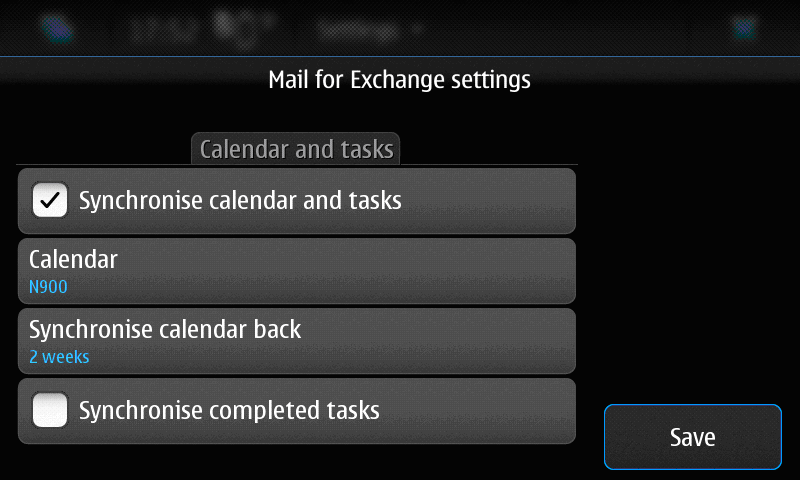
Calendar synchronization settings include also the calendar name option. By default it synchronizes into the device main calendar, however it is possible to synchronize it into a separate calendar by selecting “Create new” option. The age filter for calendar is independent on the email’s one.
No additional options for contacts, but here you can modify the ones you saw on previous pages.
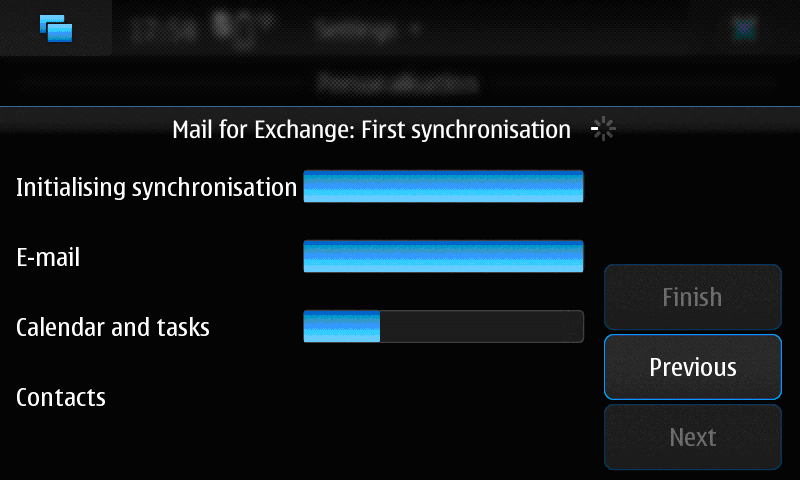
The next page starts initial synchronization. It can take quite a long time depending on the amount of synchronization content.
When it is done, “Finish” button closes the wizard and you have the Mail for Exchange account fully operable. If you want to modify some settings, you just need to go to Settings > Mail for Exchange > Settings.
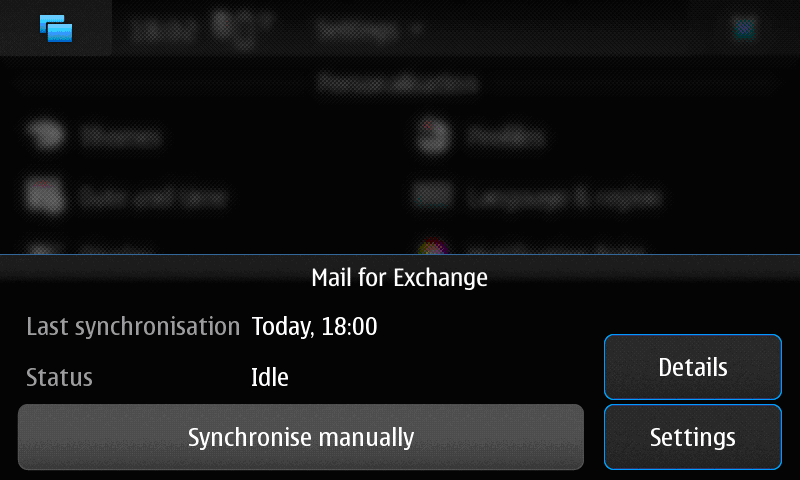
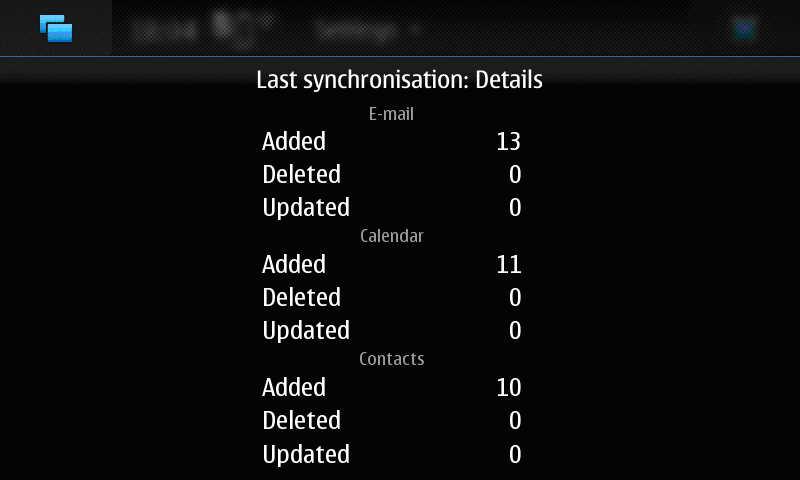
There you can find the same list of settings as you saw in the wizard’s “advanced settings”. You can also synchronize your content any time just by tapping on “Synchronize manually”. The “Details” screen will show the statistics of the last synchronization session.
[edit] Remote desktop
[edit] Setup the remote computer
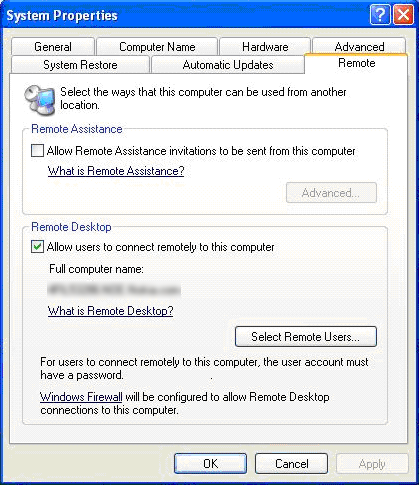
Get admin rights to your remote Windows computer. Install the Remote Desktop Server side software in the computer from http://www.microsoft.com/windowsxp/downloads/tools/default.mspx. Ensure that the computer is setup for allowing rdesktop clients to access it.
[edit] Configuring Remote Desktop on device
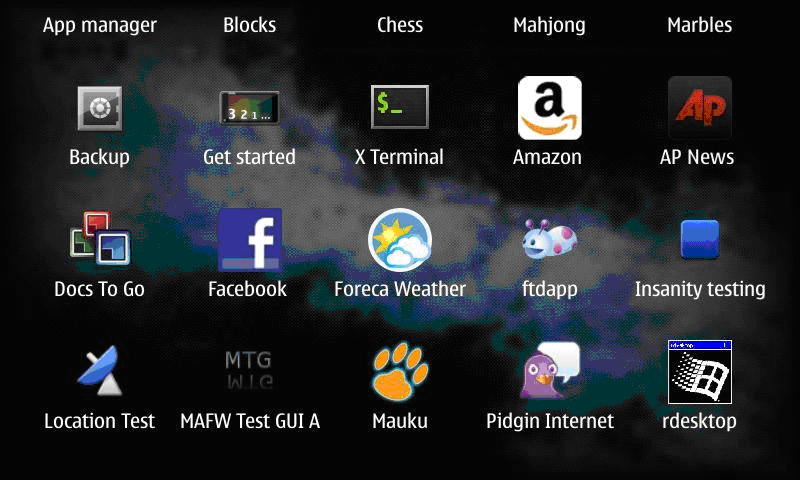
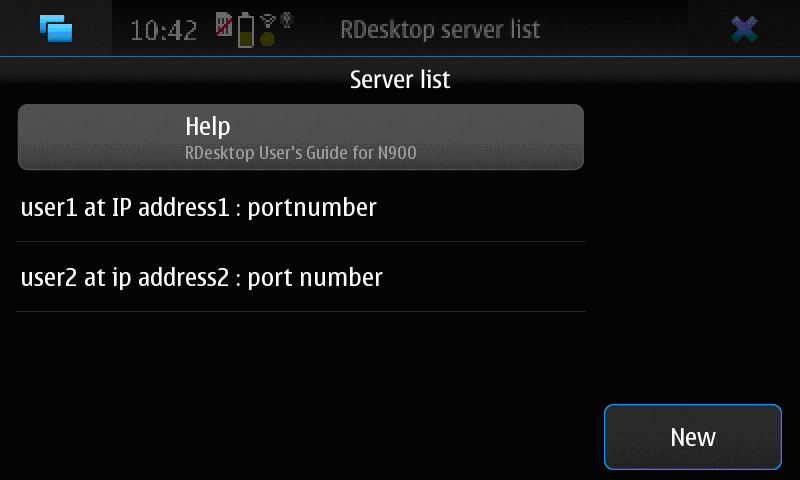
The Remote Desktop application can be accessed from the Application Launcher >More >rdesktop.
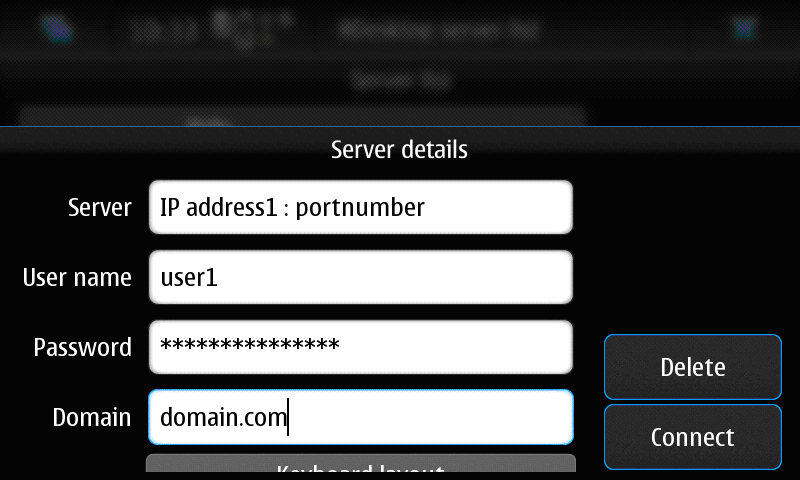
The configuration dialog is shown on launching the rdesktop application. Fill the details required for configuration the application
- RDP Server – The remote laptop or desktop computer running the remote desktop server software.
- Username – The user id for logging into the remote computer
- Password – The password corresponding to Username field
- Domain – The domain to which the computer and the username belongs.
- Keyboard layout – Layout of the keyboard on device.
[edit] Summary
On this page we looked at how much steps a user needs to go through to do manual installation and configuration. While this could work for a small company with very few services but to lower administrator time spent updating every screenshot and explanation it is better to start examine how to simplify this with provisioning.
- This page was last modified on 1 June 2010, at 13:20.
- This page has been accessed 7,406 times.

